




The perfect Sunday roast!
There is absolutely nothing like a crispy, golden roast chicken, filling the entire house with its gorgeous aroma as it cooks away in the oven. It might look complicated, but actually a roast can be one of the simplest dinners to prepare and yet is so flavoursome, nourishing and satisfying. I make this one-pan wonder at least once a fortnight as my family adores it and it’s SO easy. I love this recipe so much that I included it in my cookbook Simple Dinners Every Day.

There’s minimal fuss and washing up is a breeze. Don’t be put off by the cooking time as, after just 15 minutes of prepping some veggies and arranging them around the chicken in a baking dish, the oven does all the hard work! What makes this Easy One-pan Roast Chicken and Vegetables recipe so delicious is the tasty yet simple seasoning that I sprinkle over the skin and the lemon stuffed inside the chicken, which all results in delicious pan juices. I love the way the veggies take on the flavour of the chicken as they cook, becoming soft with crispy caramelised edges. Although this is a full meal on its own, I often serve a big leafy salad or some coleslaw on the side for an extra hit of vegetables. This is just so good that I regularly make two chickens and shred one for quick lunches (salads, wraps or sandwiches)!

Tips for cooking roasted chicken with success
If you have never roasted chicken at home before, it may feel intimidating. Once you have made this recipe, you will realise just how easy it is!
Here are my tips:
- Oven temperature – 200°C (400°F) (180°C/350°F fan-forced) is the “sweet spot” temperature. The chicken cooks low and slow and is near impossible to overcook or undercook using my method. It also allows for the vegetables in the pan to caramelise slowly and cook at the same rate as the chicken.
- Add liquid halfway through cooking – 250 ml (1 cup) of water halfway through cooking ensures the vegetables don’t burn and that the chicken remains tender and juicy.
- Rest it – Once the chicken is cooked, allow it to rest for at least 10–15 minutes prior to serving. This allows the juices to redistribute through the meat, resulting in a moister end result.
Roast chicken timing guide
Use this recipe method for chickens of different sizes. Cook at 200°C (400°F) (180°C/350°F fan-forced) and remember to add 250 ml (1 cup) of water to the pan every 45 minutes so the chicken stays juicy and the vegetables don’t burn. Always rest for at least 15 minutes before carving.
- 1.2–1.8 kg (2¾–4 lb) chicken → 1 hour 30 minutes
- 1.8 kg (4 lb) chicken → 1 hour 45 minutes
- 2 kg (4½ lb) chicken → 1 hour 55 minutes
- 2.2–2.5 kg (5–5½ lb) chicken → about 2 hours 10–15 minutes
If cooking multiple chickens – If you’re roasting two chickens side by side, they don’t technically need extra time if they have space in the pan and air can circulate. If the dish is crowded, add 15–20 minutes total to the cooking time and make sure to rotate the chickens halfway for even browning.
Do I need to truss my chicken?
No. More often than not, I don’t truss. Trussing is nice for presentation and is said to trap moisture = extra-juicy chicken. But I promise you that even without trussing, the results are delicious, and by cooking low and slow, you will be left with perfectly cooked, juicy and tender chicken every time! However, if you do want to truss your chicken, I recommend that you watch a YouTube video to find out how. Click here.

Do I need to put anything under the skin?
Stuffing butter under the skin of a chicken is a popular technique that isn’t necessary and isn’t missed in this recipe. You can achieve an amazing, delicious result by just seasoning the outside of the skin as per the recipe.
What else can I add to the pan?
Some of my favourite vegetables to add to the pan are sliced pumpkin and sweet potato, cut into large chunks. These can be added at the beginning of the cooking process. Chunky sliced zucchini (courgette), sliced capsicum (bell pepper), broccoli and cauliflower can be added halfway through the cooking process. Whole cherry tomatoes, asparagus, broccolini (tenderstem broccoli) and even marinated olives can be added to the pan in the last 15 minutes of cooking.

Watch how to make Easy One-pan Roast Chicken and Vegetables
How do I know if the chicken is cooked?
If in doubt, cut into the joint between the thigh and body of the chicken. If the juices run clear, it’s ready. If the juices run pink, bake the chicken for a further 10–15 minutes or until the juices run clear.
If you enjoyed Easy One-pan Roast Chicken and Vegetables, I think you’ll love:
Roasted Chicken with Gravy Recipe
Easy Roasted Garlic Butter Chicken Recipe
Garlic Herb Butter Roast Turkey with Gravy (No Basting!) Recipe
The Best Beef Pot Roast Recipe
Rosemary and Garlic Lamb Leg Recipe
Easy One-pan Roast Chicken and Vegetables
“I am now that person who can do a roast – and do it well! Such an easy to prepare method. It’s a favourite for our family and great for entertaining.” Share Pin Recipe PrintIngredients
- 2 carrots, peeled and cut into 3 cm (1¼ inch) pieces
- 2 red onions, peeled and quartered
- 6 potatoes, cut into wedges
- 1 free-range chicken (see note 1), patted dry with a paper towel
- 1 tsp chicken stock powder (bouillon)
- 1 tsp sea salt flakes
- 1 tbsp sweet paprika
- 1 tbsp dried thyme
- 1 tsp freshly cracked black pepper
- 4 tbsp olive oil
- 2 thick slices of fresh lemon
- 250 ml (1 cup) water
Instructions
- Preheat – Preheat the oven to 200°C (400°F) (180°C/350°F fan-forced).
- Arrange the veggies and chicken in the dish – Place the carrot and red onion in the centre of a large baking dish or roasting pan. Arrange the potatoes around the outside of the dish.
- Place the chicken on top of the carrot and onion.
- Add the seasonings – Sprinkle the chicken and vegetables with the chicken stock powder, salt, paprika, thyme and pepper.
- Drizzle and truss (optional) – Drizzle with olive oil and use your hands to coat the chicken and vegetables evenly. Stuff the lemon slices into the cavity of the chicken. You can truss the chicken at this point if you wish (optional, see note 2).
- Bake – Bake for 45 minutes, then add the water. Use a spatula to shuffle the vegetables around the chicken gently so they are not sticking to the base of the pan. Cook for a further 45 minutes.
- Rest – Allow the chicken and vegetables to rest with the heat off for at least 15 minutes (this is what ensures the chicken is soft and juicy). If you’re cooking more than one chicken, see note 3.
- Serve – Serve the chicken alongside the vegetables and drizzle with the pan juices.
Watch how to make it
Nutrition information
Nutritional information on this site is calculated using Foodworks Professional, the nutrition analysis software trusted by dietitians, researchers and food manufacturers across Australia and New Zealand. Disclaimer re gluten-free and dairy-free recipes.




Paula says:
Thank you a million for this amazing recipe!! We enjoyed every bite. It’s so nice to have an easy recipe that’s good enough for company. My 5 pound chicken was ready in an hour and a half.
Looking forward to trying more recipes on your website.
Claire says:
Can’t wait to make this, this week. Question: can I use 2lbs of chicken drumsticks – it’s what I have and the stores near me tend to only have 5lb whole chickens instead of the smaller ones.
Nicole says:
Hi Claire! Yes, absolutely! ❤️ You can definitely use 2 lb of chicken drumsticks instead! They’ll cook much faster than a whole chicken, so I’d recommend roasting them at the same temperature of 180°C fan-forced (350°F) for approximately 40–45 minutes, or until golden and cooked through. The only thing I’d suggest is giving the potatoes and carrots a head start of around 20 minutes in the oven before adding the drumsticks, so everything finishes cooking at roughly the same time. I hope that helps, and I’d love to hear how you go! Nic ❤️
Jules says:
Hi Nicole,
I made this with 1 last week & am now attempting 2 because it all got devoured & there were no left overs! Do you double the amount of stock when you cook 2 x chickens at the same time?
Thanks again for sharing =)
Nicole says:
Hi Jules! Oh, I love this! 😂❤️ The fact that you’re making two chickens this time because there were no leftovers is the biggest compliment! When I roast two chickens together, I find they generally need an extra 15–20 minutes in the oven, as the air doesn’t circulate quite as freely around them. Because of the longer cooking time, you’ll also need a little extra stock or water in the base of the pan to stop the vegetables from drying out or catching. I’d start with the amount in the recipe and add more as needed throughout cooking. Just make sure you’re using a large enough roasting dish so the chickens have plenty of space around them. I hope that helps, and fingers crossed there are some leftovers this time! 😂 Nic ❤️
Kim says:
Delicious! The veggies somehow take on a slight sweetness as they roast and caramelize. I did not have lemon and it was still great. I made a gravy from the pan drippings. My teen sons devoured the meal.
Thilini says:
Hi,
Is there a substitute for stock cubes ? Can I rub stock paste instead ?
Simple Home Edit Team says:
Hi Thilini, you could use 1 teaspoon of chicken stock powder (bouillon) instead of a cube. Hope this helps! 😊
Georgina says:
We had this last night, my 4 year old picks the drumstick(including thigh) clean, my 1 year old love it and my husband and I are always going in for seconds! It’s so good, because you literally throw it in and leave it alone!
We then use our left over bits including the underside with the onion, som bacon and garlic in a pan. Add in some cream and throw it into some folded pastry, ( like a pocket) BEST PIE FILLING EVER! I am truly inspired!! Thanks Nic! Xx
Olivia L says:
Hi Nicole, I’m looking forward to cooking this one! I have only tried making a roast chicken once, and my biggest fear is carving it. Do you have any tips? 😊
Nicole says:
Hi Olivia, that makes me so happy to hear! I will make sure the next time that I make a roast chicken to share the carving part, because it can feel a little bit daunting, but I promise it’s actually super easy.
My biggest tip is to let the chicken rest for at least 10 or 15 minutes before you start. It makes a huge difference to how easily it comes apart, and it’s also much easier to handle.
Using a sharp knife, I like to start by removing the legs. If you gently push them out to find the joint, they’ll actually come away quite easily. Then I slice down alongside the breast bone to remove the breasts, and then I like to slice the breasts into pieces. Once you’ve done it once or twice, it’ll feel really natural and get easier.
I hope you love the recipe, and I will definitely make sure to share a video the next time I make a roasted chicken! ❤️
Olivia L says:
Hey Nicole! My family loved this recipe – including my four and one year old! Thank you for sharing the carving tips. It was very easy. 😊 Another question – I’m going to make this for an extended family get together and was thinking of buying some extra drumsticks to marinade and serve alongside. Would you put them in the same roasting pan or roast separately?
Nicole says:
Hi Olivia! I’m so glad your family loved it – and especially the little ones! 😊 I’d roast the drumsticks separately. They’ll cook much faster than the whole chicken, and keeping them on their own tray will stop the main roasting pan from getting too crowded so the vegetables can still caramelise properly. You can absolutely use the same seasoning/marinade on the drumsticks though – they’d be delicious alongside it! I’d just start checking them earlier and take them out once they’re golden and cooked through. Such a lovely idea for feeding a bigger group. x
Jenny says:
In the recipe above your instructions are to use 200o OR 180o fan forced. But in your replies to readers’ comments you’ve said it should be 200o fan forced.
Is there a typo? Or are you suggesting that 200o fan-forced is used in specific scenarios?
Nicole says:
Hi Jenny, thank you so much for taking the time to message! This is a great pickup. The recipe is correct – it’s 200°C conventional or 180°C fan-forced. I’ll double-check those responses. Thanks so much again for taking the time to write. 🙏
Dan says:
Followed the extra recipe steps and the spices have burnt on top of the chicken. What did I do wrong?
Nicole says:
Hi Dan, thanks so much for your comment! If the spices are catching and burning, it usually means the oven was running a little hot or the chicken was sitting too high. Try moving the tray down a rack and if you notice it browning too quickly, loosely cover it with foil — that’ll protect the top while the chicken finishes cooking through. Every oven is a little different so it’s always worth keeping an eye on it! Nic x
Kay says:
This is delicious and gluten free so better than a barbecue chicken from the supermarket. So easy and yummy. Thank you
Nicole says:
Love this feedback, Kay! Thanks for the rating too. 🙌🏻 Nic x
Jo says:
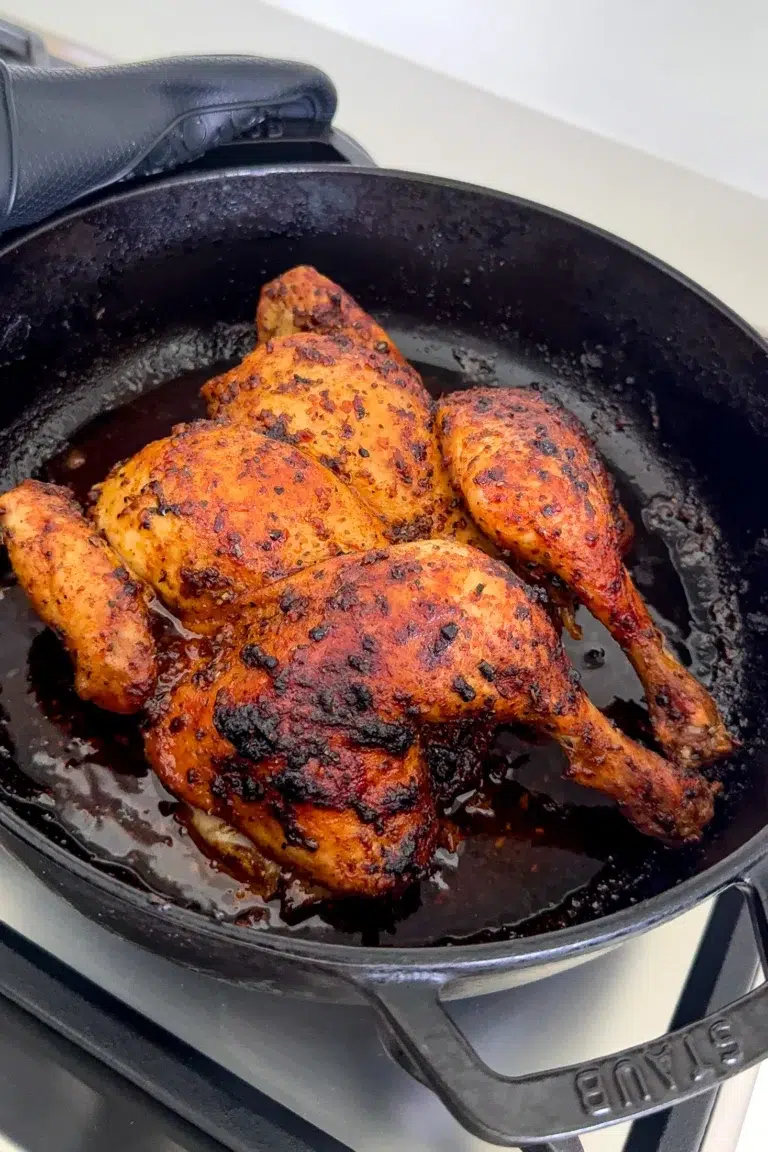
So my chicken is 2.8kgs 😳 can I do this recipe but spatchcock the chicken first?
Nicole says:
Hi Jo, thanks for your comment! Ha, that’s a big bird! Spatchcocking is a great idea as it’ll help the chicken cook more evenly. For a chicken that size, spatchcocked, I would say approximately 50 minutes to 1 hour at 200°C (390°F) fan-forced, with ½ cup water added every 30 minutes to keep everything steamy. Use a meat thermometer to check it’s cooked through — 74°C (165°F) in the thickest part of the thigh. Let me know how it turns out if you do try it! Nic x
Jo says:
Hi Nic, just wondering when I take the chicken out to rest am I taking the veggies out too?
Nicole says:
Hi Jo, you actually leave the chicken and veggies in the pan to rest. 😊 Nic x